Hanging a hammock is a straightforward process that can bring endless relaxation whether you’re in your backyard, at a campsite, or even indoors.
Here’s a thorough guide to help you get your hammock set up perfectly.
Step 1: Scout the Perfect Location

The first step in hanging your hammock is finding the ideal location. When looking for suitable spots, consider trees, posts, or indoor setups.
Trees are often the most popular choice. Find two healthy trees approximately 10-15 feet apart.
Ensure the trees are sturdy enough to support your weight. Trees with thick trunks are usually more reliable.
If trees aren’t available, look for strong porch supports or dedicated posts. These can serve as excellent alternatives to trees.
Make sure the posts are firmly anchored into the ground and can withstand the weight and movement associated with hammock use.
For indoor setups, use wall anchors or ceiling beams. These should be professionally installed to ensure they can handle the stress.
Wall anchors should be placed at the right height and distance to mimic outdoor setups. Ceiling beams can be used similarly, offering a versatile option for indoor relaxation.
Regardless of your chosen location, always inspect the supports for stability and safety. Check for signs of wear, decay, or instability.
Step 2: Secure the Straps or Ropes
Once you’ve chosen the perfect location, the next step is to secure your hammock using straps or ropes.
Tree straps are a popular choice due to their ease of use and tree-friendly nature. To secure tree straps, wrap them around the tree at about eye level.
Ensure they are tight and even. Adding an extra twist to the straps can provide additional stability and reduce slipping.
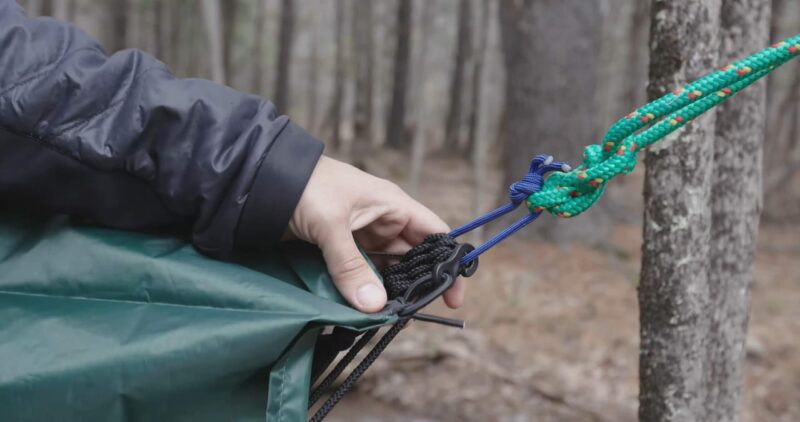
On the other side, you can use a “Go Anywhere Rope Kit.” These kits typically include knotted ropes designed to create a secure hitch.
Wrap the knotted end of the rope around the support, feed it through the loop, and pull tight. The knot-less friction hitch provides a reliable hold without damaging the support.
When securing the straps or ropes, ensure they are parallel and evenly spaced. This will help maintain balance and prevent tipping.
Double-check the tightness and adjust as necessary. Properly secured straps or ropes are essential for safety and comfort.
If you’re setting up indoors, use wall anchors or ceiling hooks. These should be installed into studs or beams to ensure they can support the hammock’s weight.
Follow the manufacturer’s instructions for the best results. Securely attaching your hammock indoors provides a stable and comfortable setup for year-round use.
Step 3: Adjust the Height and Tension

After securing the straps or ropes, it’s time to adjust the height and tension of your hammock. Attach your hammock using carabiners or loops.
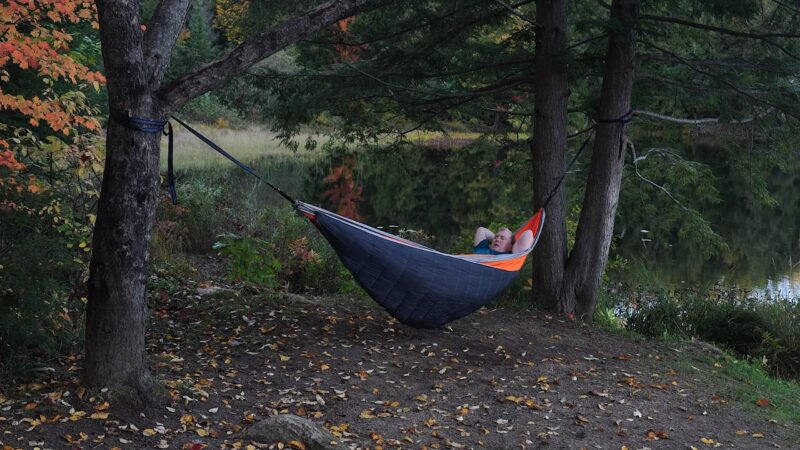
Aim for a comfortable height, typically around 18 inches above the ground when occupied. This height allows easy access and ensures safety.
The tension of the hammock is also crucial. For hammocks without spreader bars, create a comfortable sag.
The sag should form a slight curve, providing optimal support and comfort. Spreader-bar hammocks, on the other hand, should be hung slightly tighter.
These hammocks have a flatter surface, and increased tension helps maintain their shape. Use adjustable straps or add extra knots to achieve the desired tension.
Adjusting the height and tension ensures your hammock is comfortable and secure. Regularly check the height and tension, especially after the initial setup.
Hammocks can stretch slightly with use, and adjustments may be necessary.
Ensuring the correct height and tension enhances the overall experience, providing a relaxing and safe environment.
Step 4: Test the Stability

Before fully relaxing in your hammock, it’s essential to test its stability. Gently shake the hammock to ensure it is securely anchored.
Look for any signs of strain or instability. If the hammock shifts or shows signs of slipping, readjust the straps or ropes.
Perform a thorough safety check by gently sitting in the hammock and gradually increasing your weight.
Regular checks are crucial, especially if you’re using tree straps. Inspect the trees for damage and ensure the straps remain tight.
Adjust as needed to maintain a secure setup. Safety checks should be part of your routine, especially if the hammock is frequently used.
Testing the stability ensures your hammock is safe and comfortable. Taking a few extra moments to check and adjust can prevent accidents and enhance your overall experience.
A stable hammock setup provides peace of mind and allows for uninterrupted relaxation.
Step 5: Enjoy Your Hammock
With your hammock securely set up, it’s time to enjoy it!
Add comfort add-ons like:
- Pillows
- Blankets
- A bug net
Pillows provide additional neck and head support, while blankets add warmth and coziness.
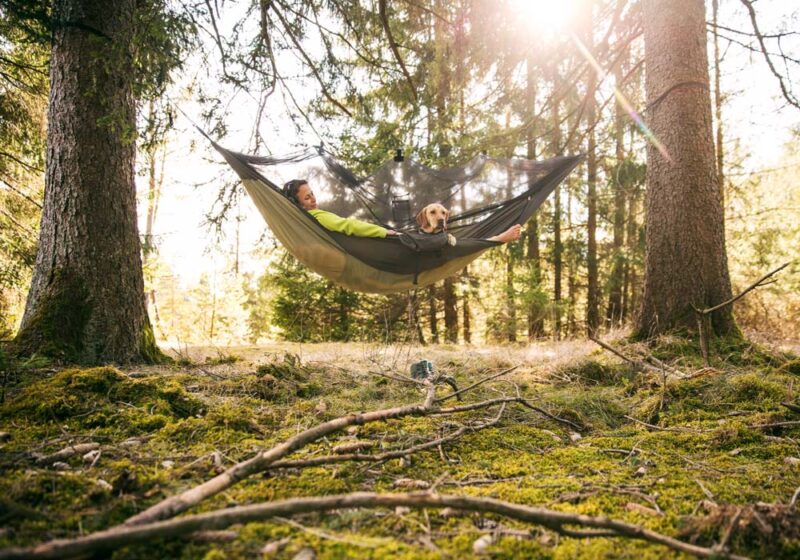
A bug net is essential for outdoor setups, keeping insects at bay.
Experiment with different spots and heights to find your personal sweet spot. Don’t be afraid to try new positions and adjustments.
The versatility of a hammock allows for a personalized experience.
Enjoying your hammock is all about finding comfort and relaxation. Take advantage of the flexibility and convenience it offers.
Summary
Hanging a hammock is an easy and rewarding process.
By following these steps, you can create a comfortable and secure setup anywhere.
Enjoy the relaxation and peace a hammock brings, whether indoors or outdoors.